Last updated on November 26th, 2023
Remember opening a new box of crayons as a kid? The unmistakable new-crayon smell wafting up as you lift the lid. Row upon row of crayons with perfectly sharpened tips clustered into color families. Like skinny gnomes in their pointy hats, pristine crayons standing ready to create.
As time passes tips become rounded and worn down, busy fingers peel off the paper wrappers, and the crayons inevitably snap into pieces. Crayon stubs are abandoned in bags, baskets, boxes, and drawers, passed over for sharper, full-size crayons.
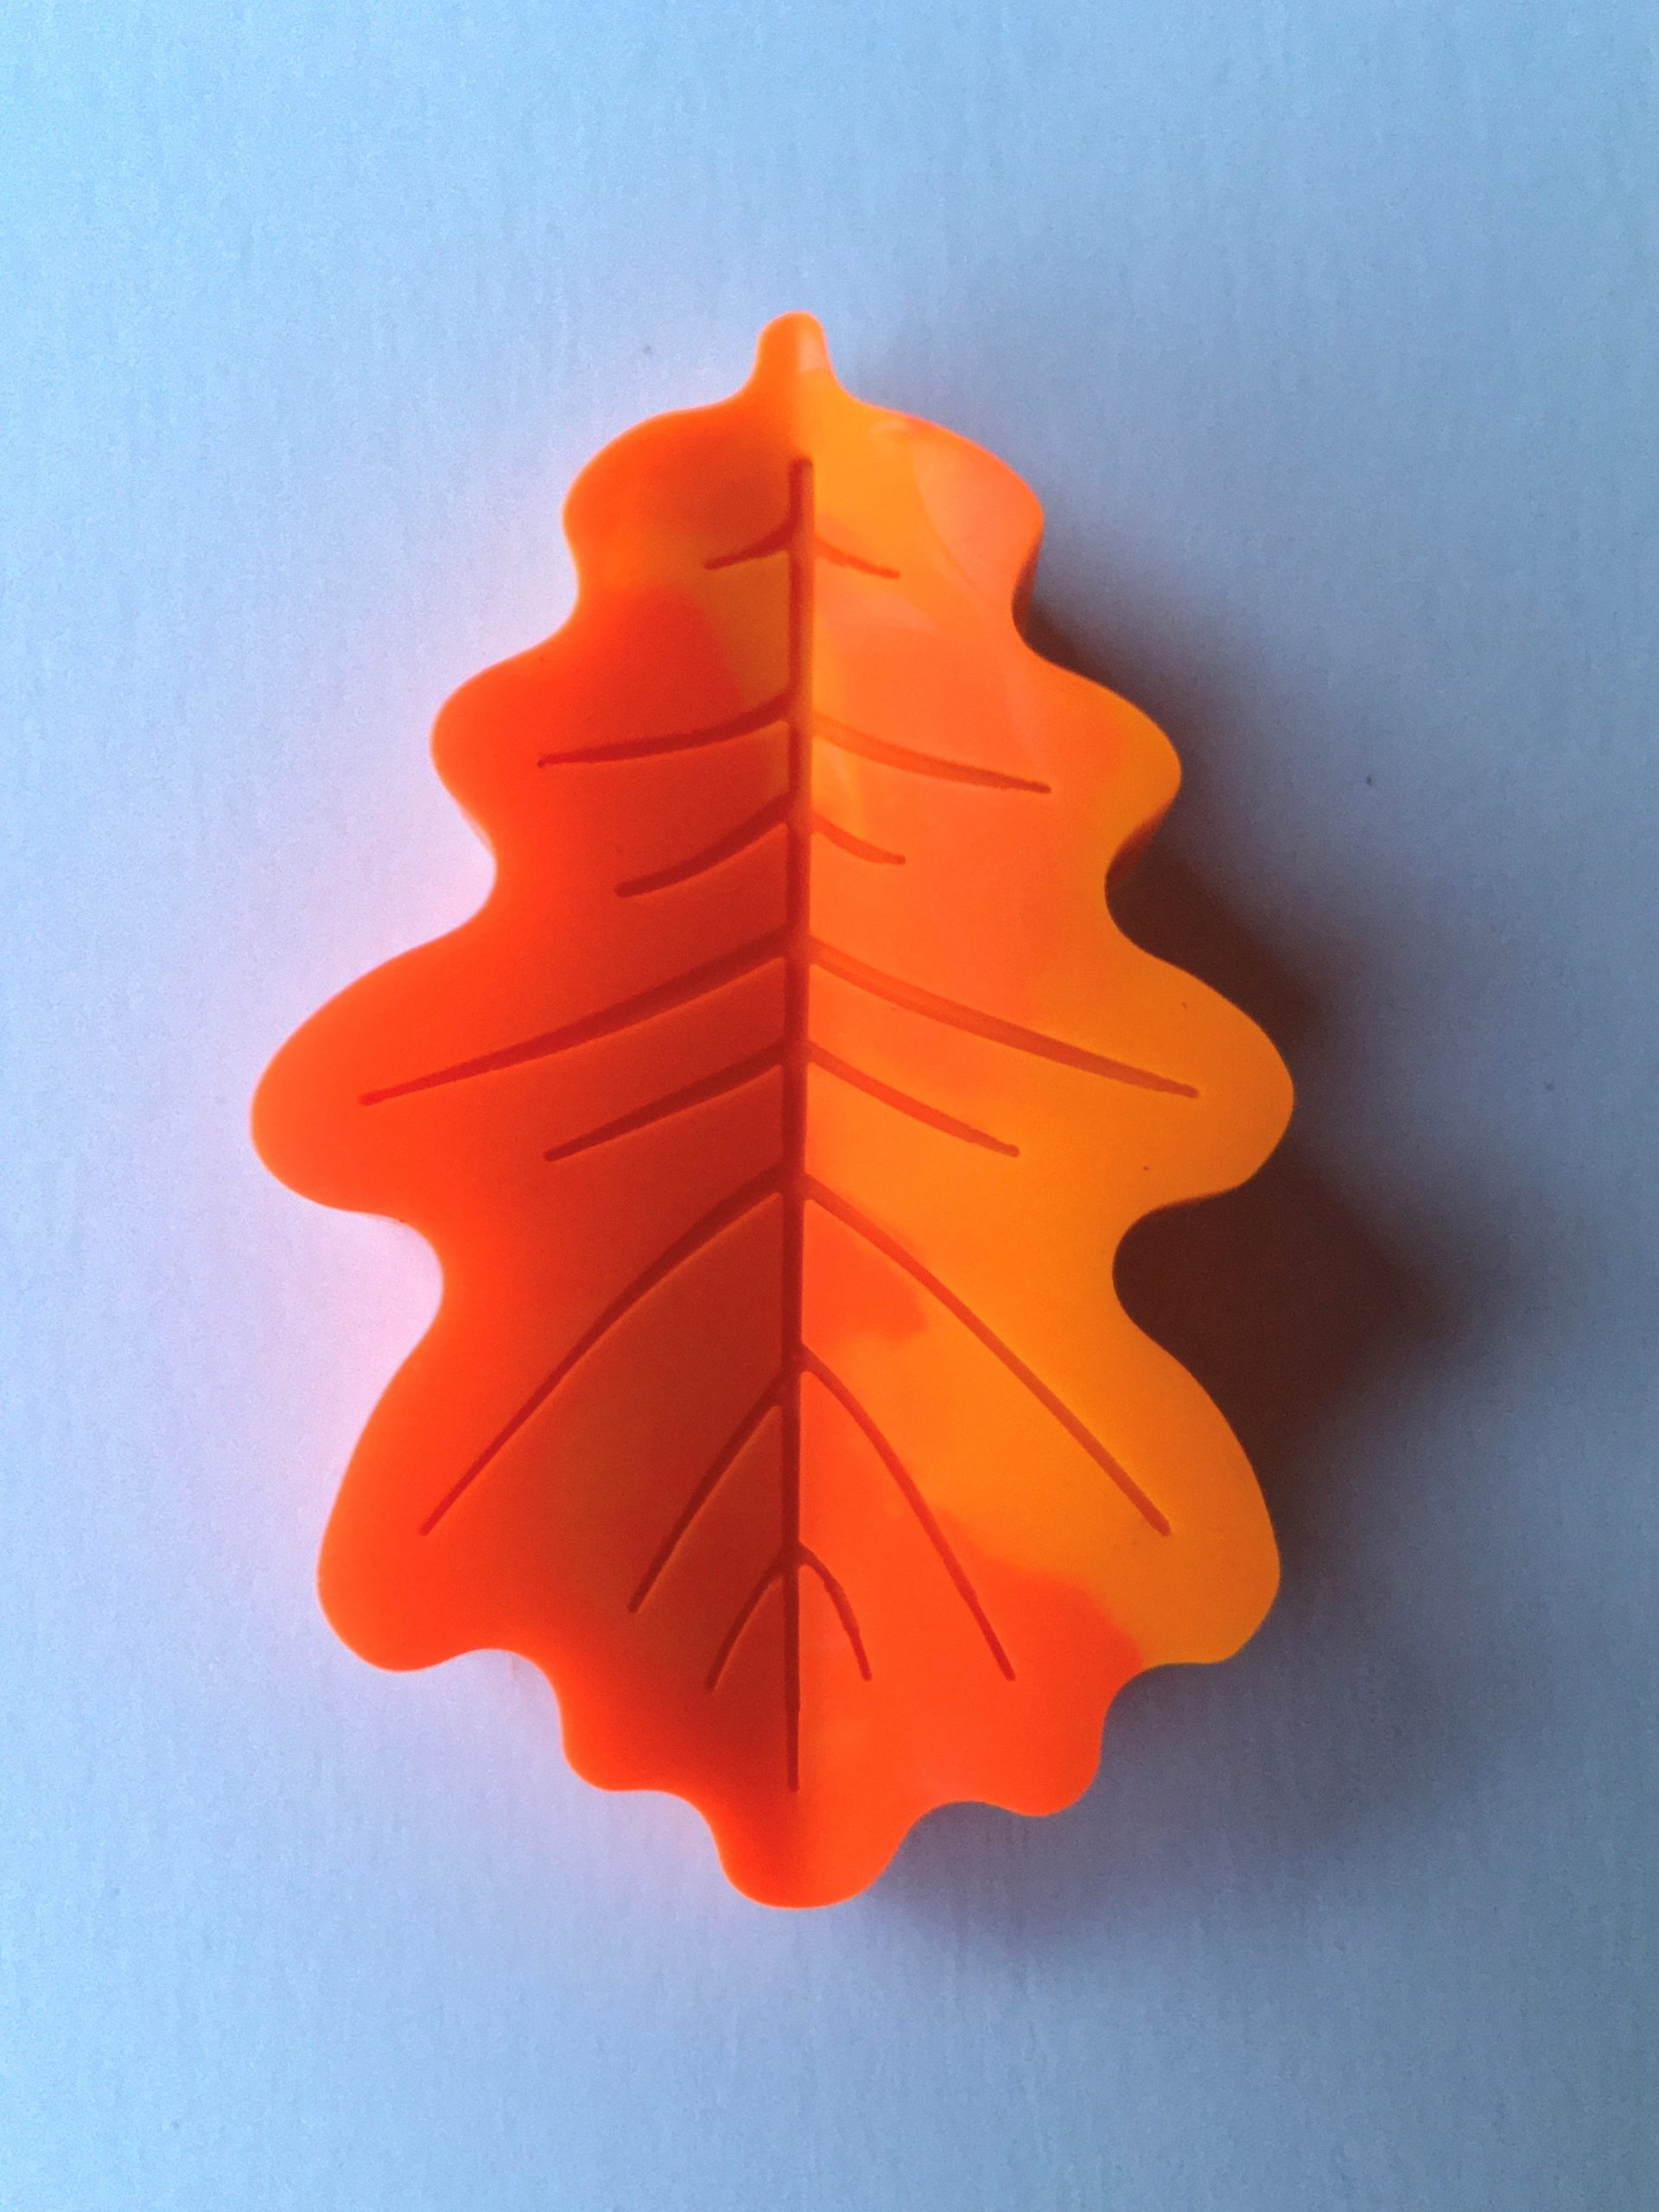
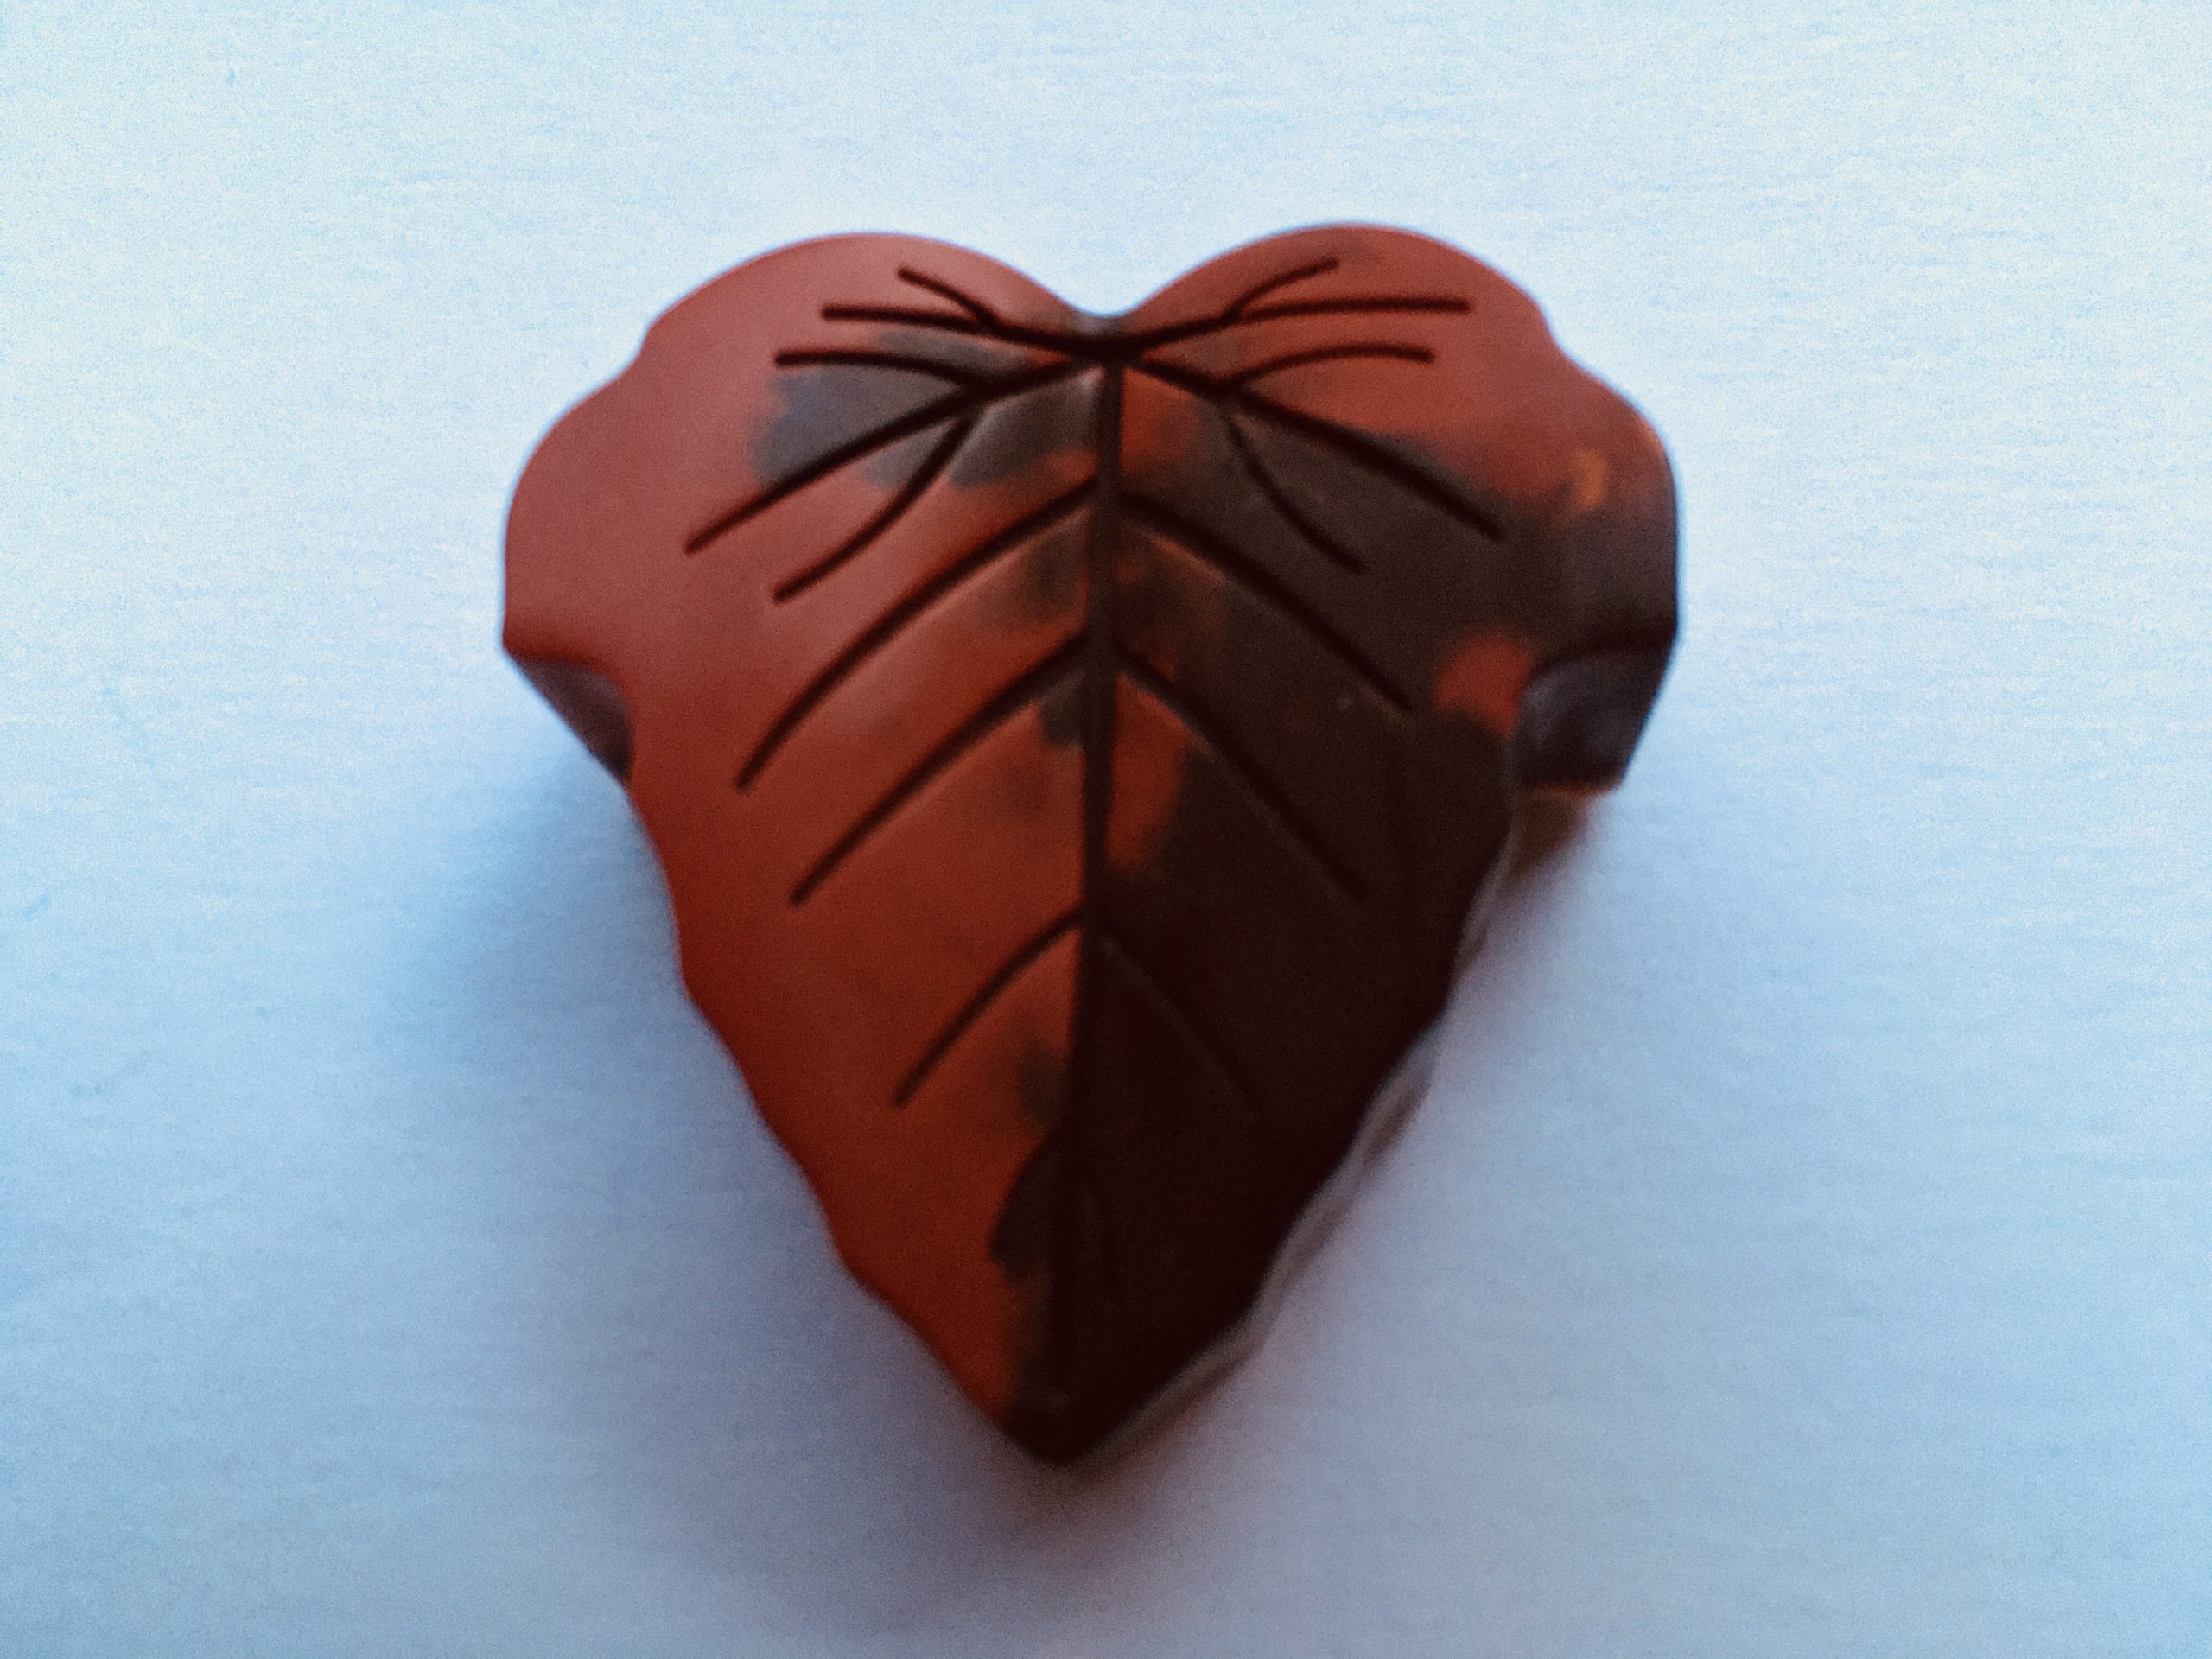
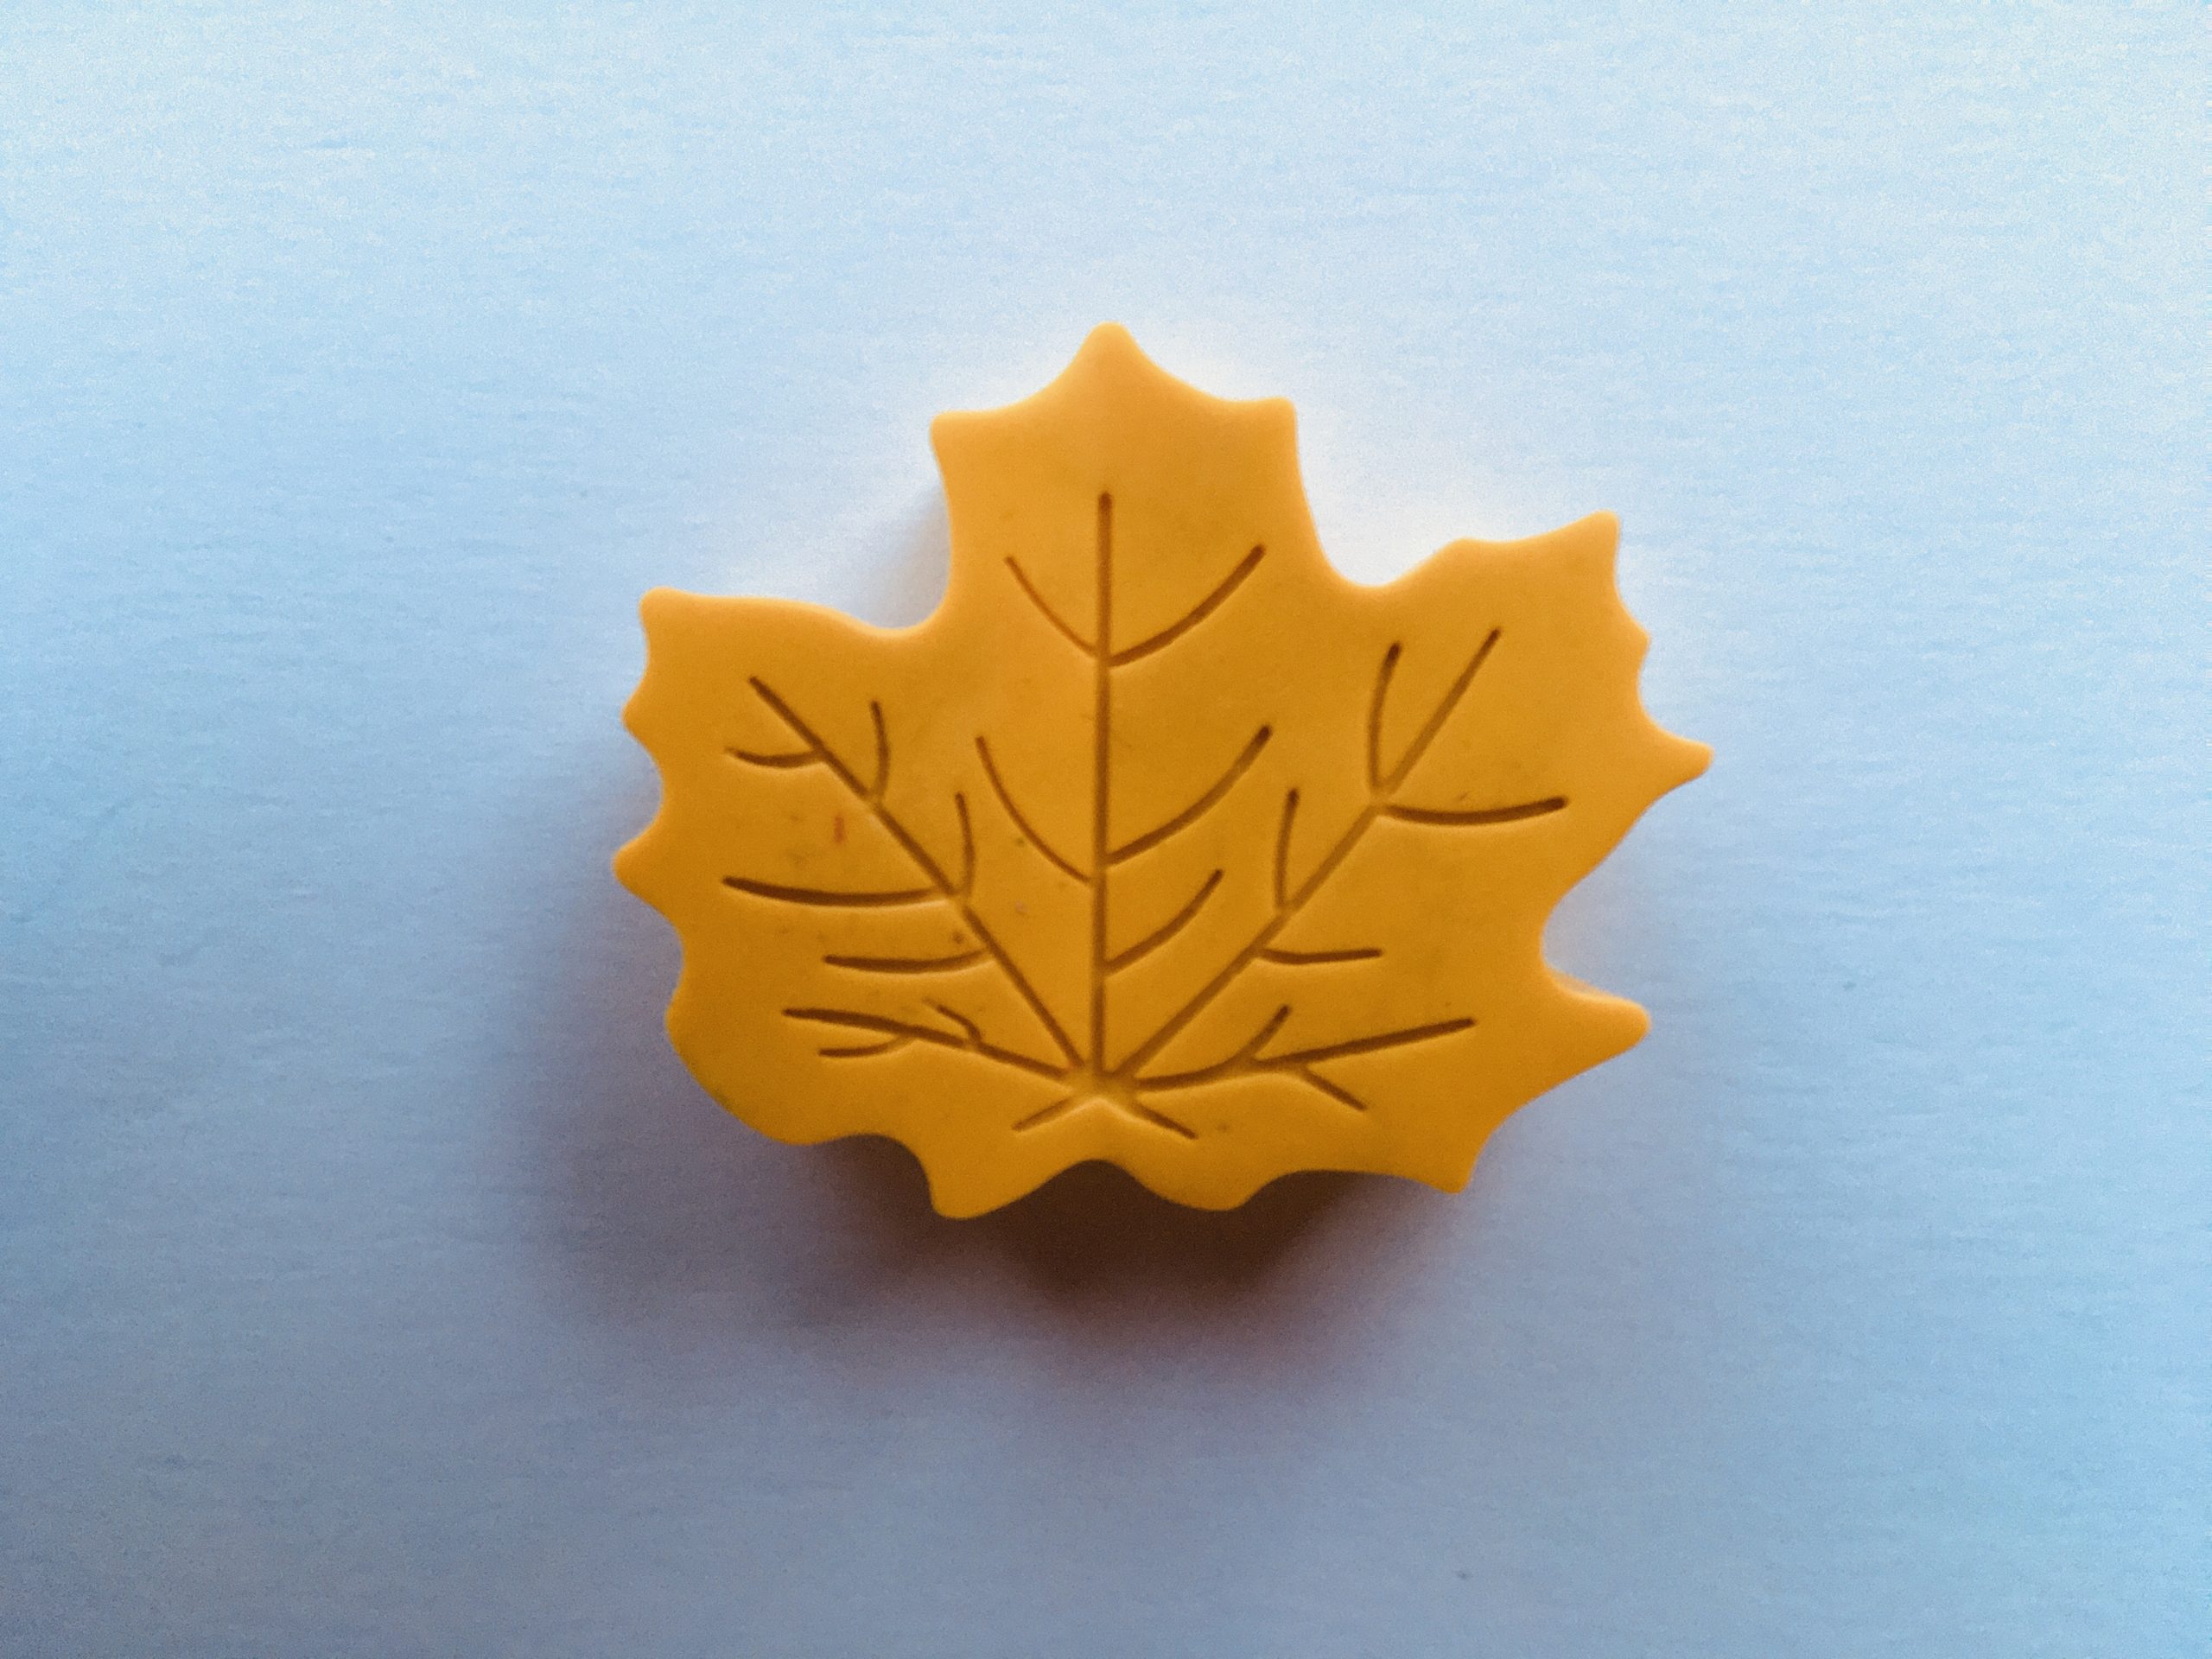
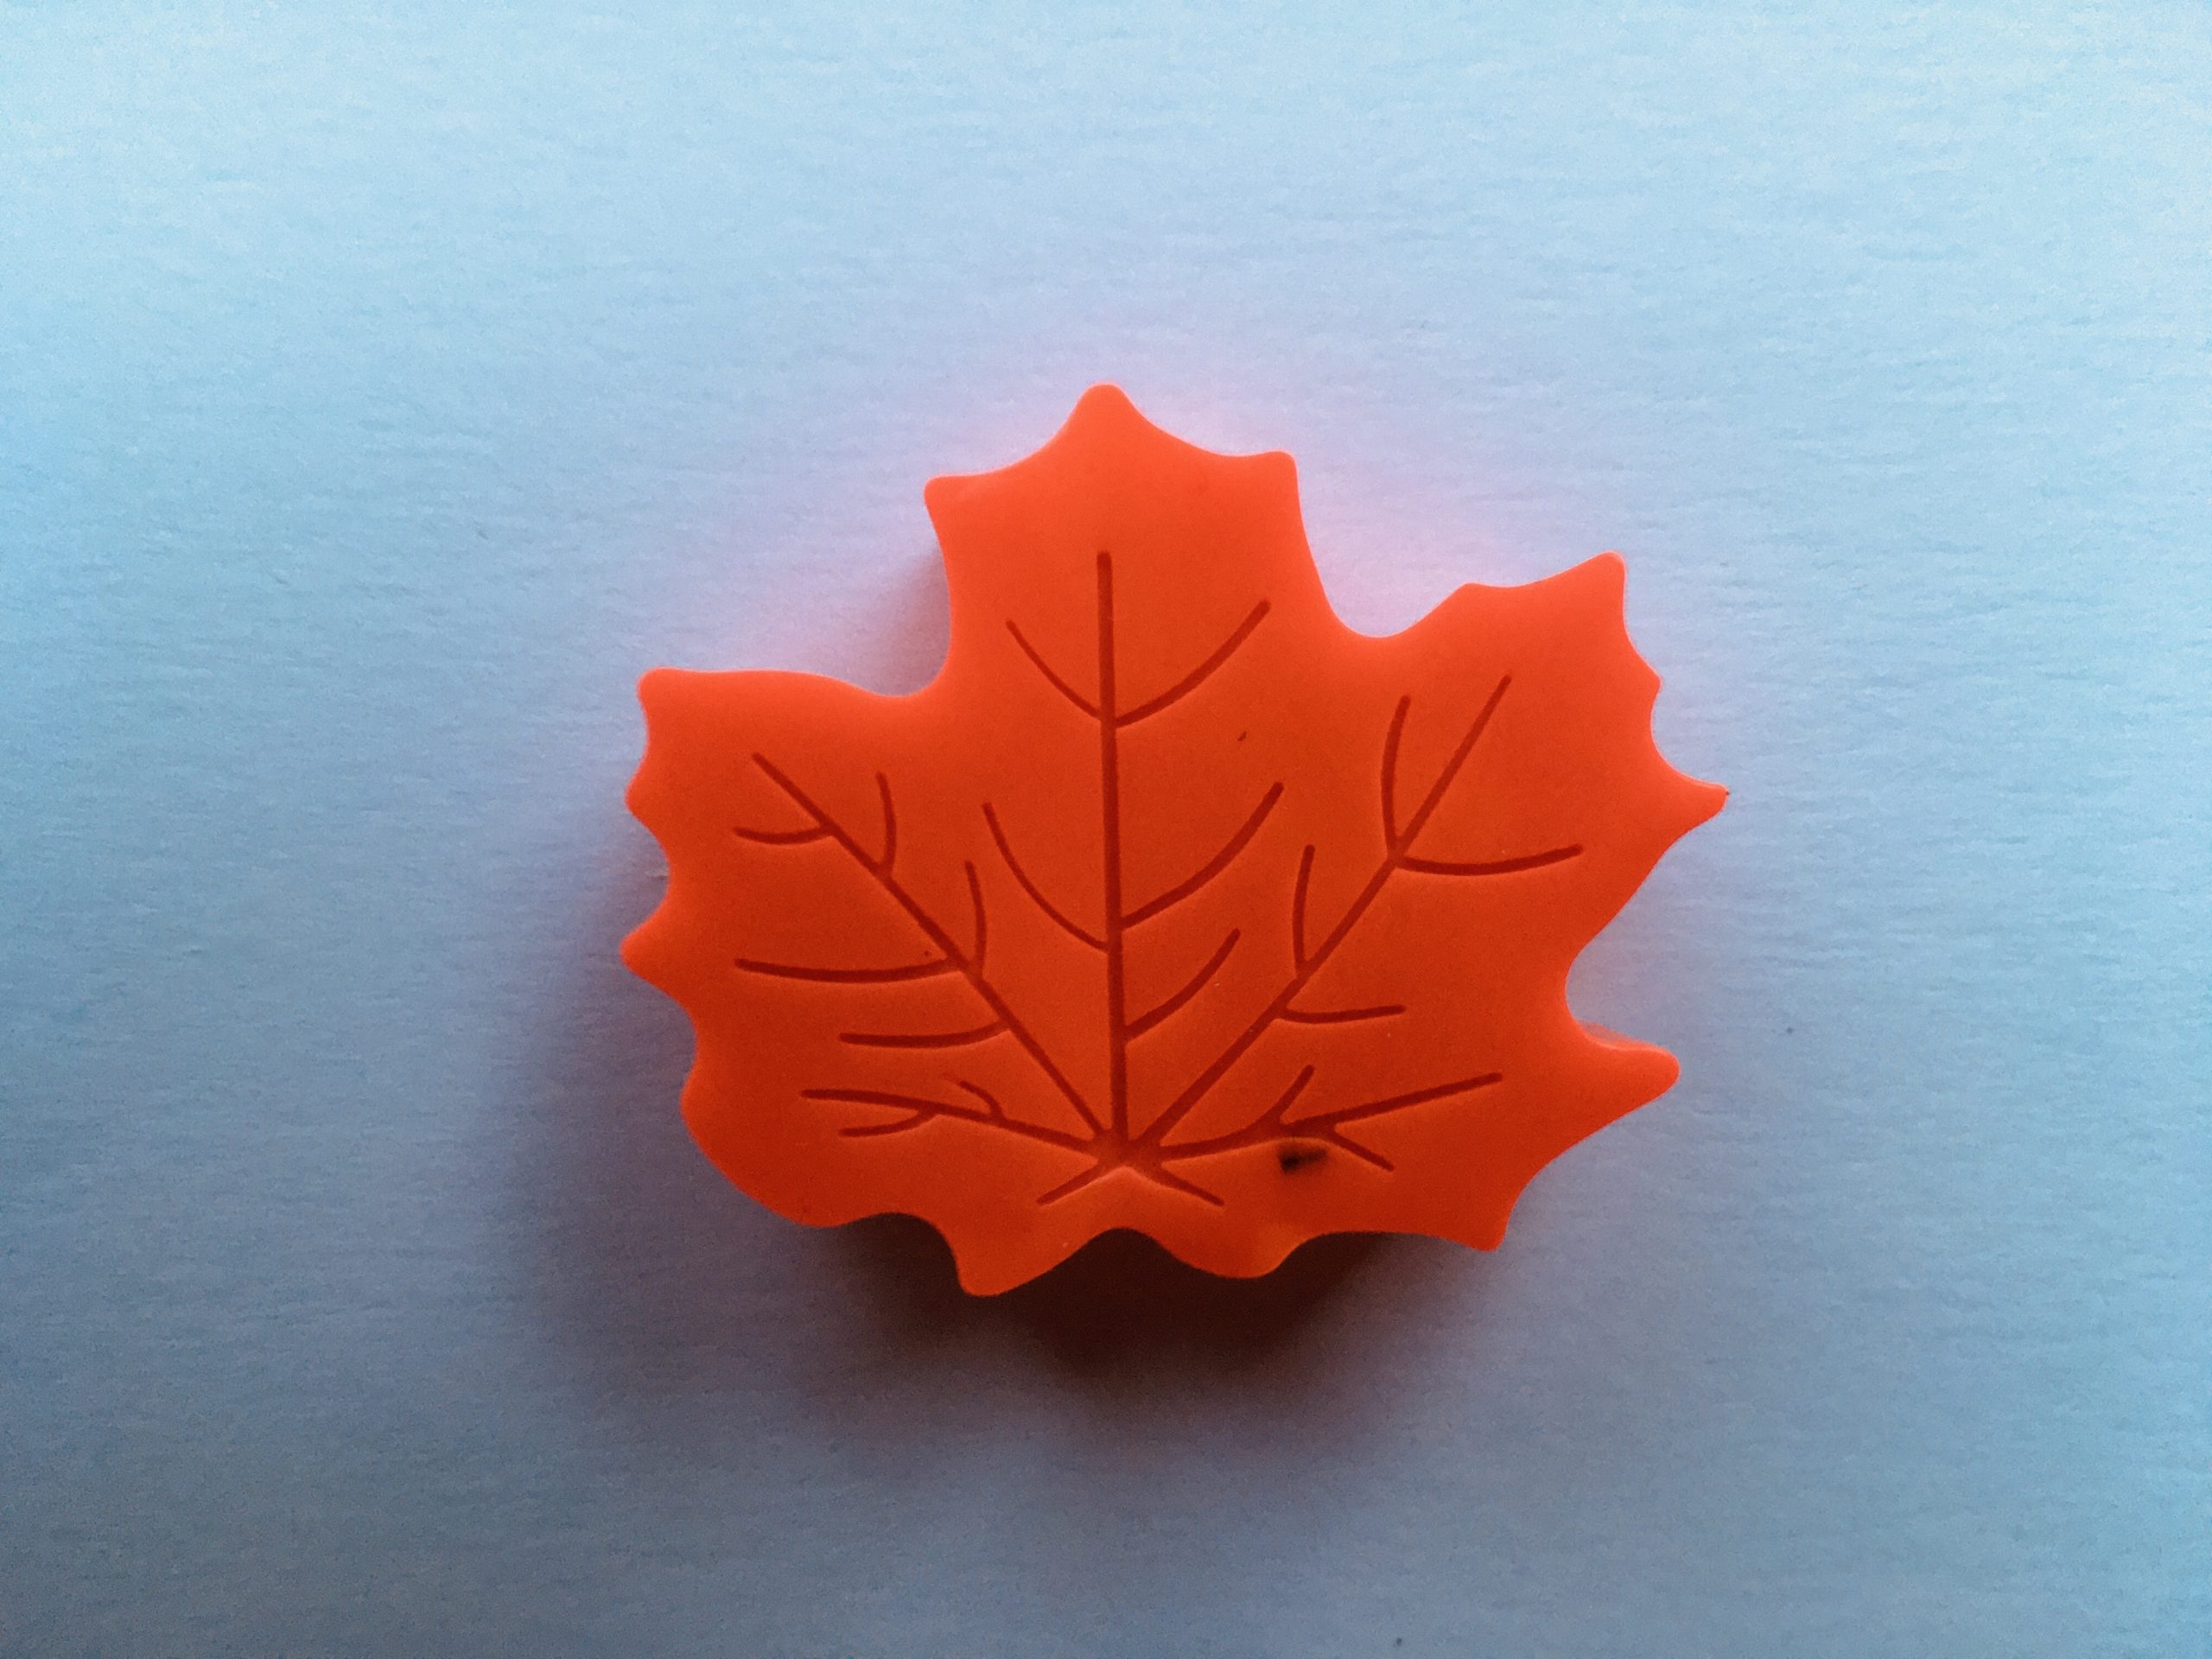
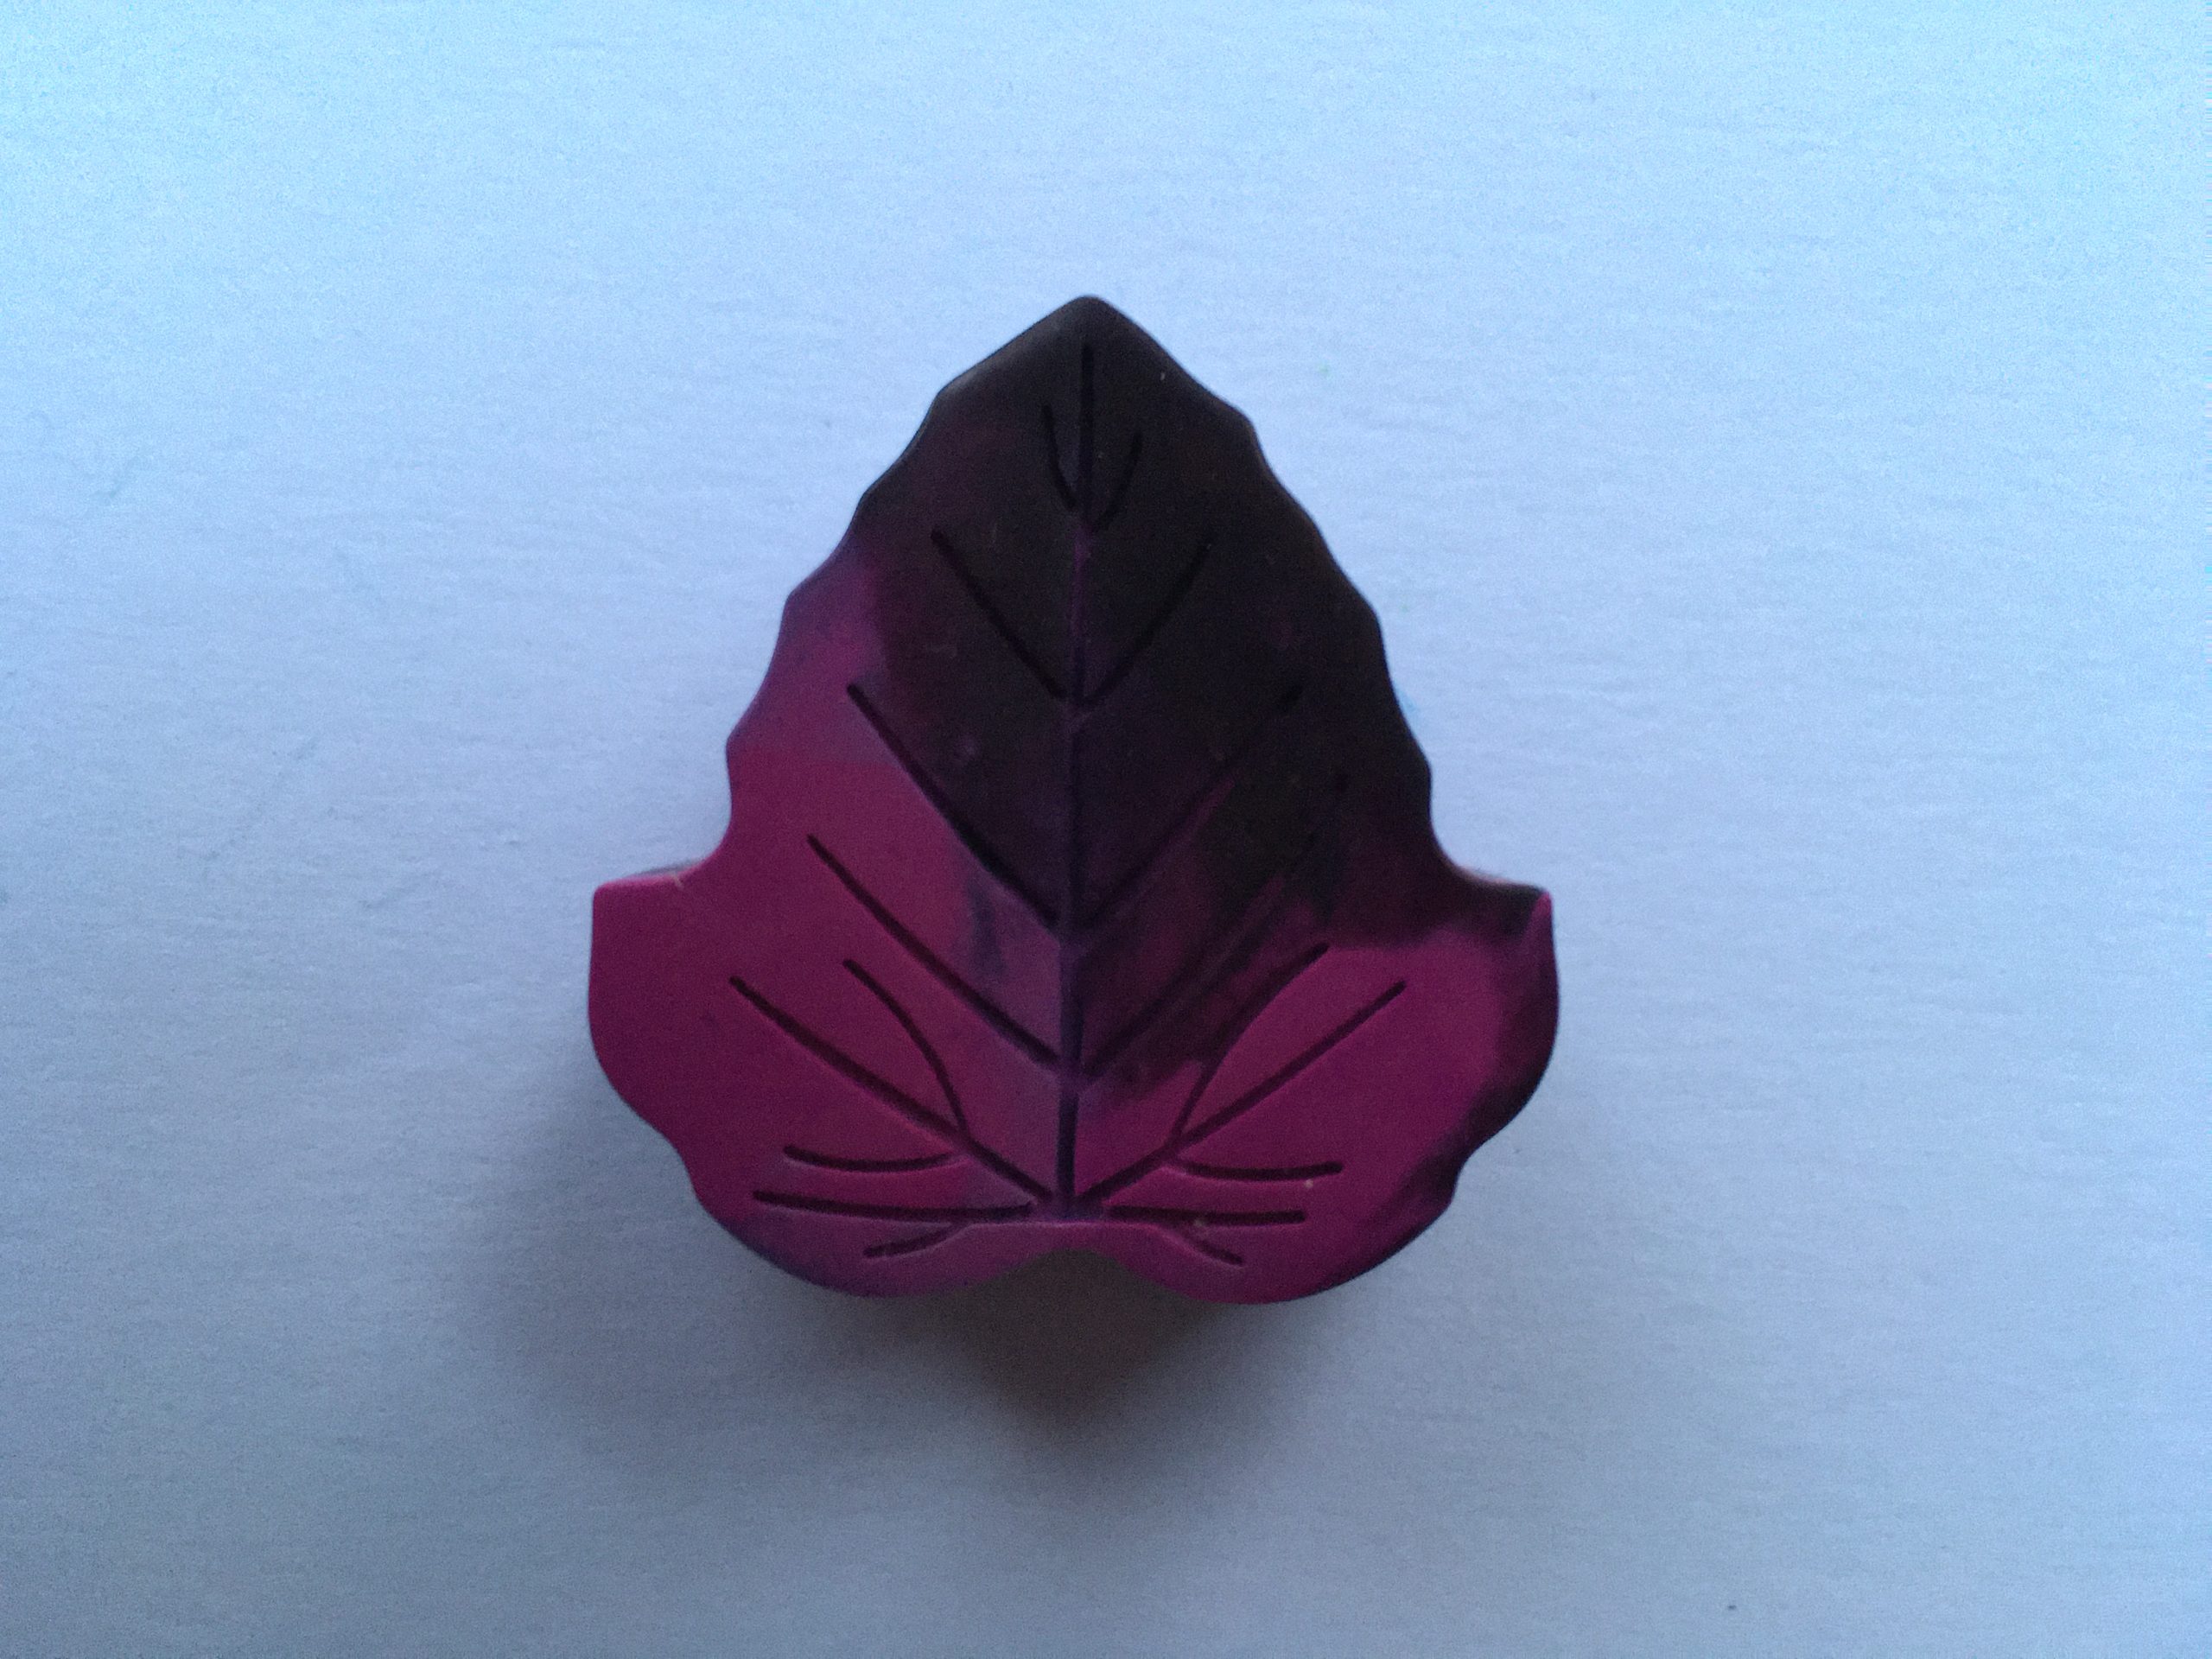
It’s time to upcycle those forgotten pieces into new crayons shaped like autumn leaves!
Before we start, let’s talk clean up.
Warning: crayon wax is notoriously difficult to remove from surfaces, including stainless steel, so take this into consideration before you use your best knife to go all Gordon Ramsay on the crayons.
Likewise, don’t use a mold that you want to use in the kitchen again, like a reliable ice cube tray or your best muffin pan. Crayon residue on silicone never really goes away. Sure, crayons are nontoxic, but just because you can eat something doesn’t mean you should. Be creative and find other uses for crayon molds:
- Pretend play
- Sorting
- Sandbox toy
- Make more crayons
In essence, don’t create more waste just to upcycle broken crayons.
Absolutely don’t attempt to clean wax off in the dishwasher. It will spread a thin layer of wax over the rest of the dishes and the inside of the dishwasher. (Thank goodness I don’t know from experience!)
For a scrumptious fall treat make Gluten-Free Teff Apple Cobbler.
Step One: Gather your material and supplies.
- Old crayons
- Leaf-shaped candy mold
- Old baking pan
This project uses a candy mold with wells shaped like leaves, but you can work with any kind of mold you have on hand. Silicone molds are easy to work with, but a greased metal mold works well too.
Step Two: Peel any crayons that still have wrappers.
If they aren’t glued on, the wrappers will slide right off. Some kids love peeling crayons, so delegate this task to a young helper if possible. If you don’t want to use your nails to peel crayons, there are a couple of options:
- Use a crafting or paring knife to score the paper along the crayon lengthwise, and then peel off the wrapper.
- Soak crayons in hot water for a bit to soften stubborn glued-on paper.
Step Three: Snap or cut crayons small enough to fit into the leaf mold wells.
If mixing shades and or colors to create an ombré effect, break or cut crayons into ½ -inch or smaller pieces. This will reduce melting time, thus making it less likely the colors will blend together for a sharper contrast between colors. It’s not as important for monochromatic crayons.
Step Four: Fill leaf mold wells.
Place crayon pieces into the mold wells. Err on the side of slightly overfilled to make up for gaps between solid bits of crayon. When the crayons melt they will take up less room.
Different brands of crayons melt at different rates. Not a big deal for monochromatic crayons, but is important to keep in mind if attempting multiple colors in the same mold well.
Step Five: Bake on the top rack of a 225°F oven for 10-20 minutes, or until wax is completely melted.
Steps Five and Six should be done by an adult. The oven will be hot, as will the baking pan and melted wax, so use oven mitts.
It’s important to put the silicone mold on a baking pan before placing it on the oven rack.
Check at 10 minutes. If the molds are not full when the wax melts down, add more bits of crayon and cook for five additional minutes at a time, until wax is melted.
Use care not to spill any wax on a pan you want to cook with again.
Melting wax does give off an odor. Turn on the oven fan and open a window if necessary.
Step Six: Remove baking pan and mold from oven and cool.
Carefully remove baking pan and mold from the oven. Allow wax to cool and completely solidify before popping your brand-new crayons out of the molds. Cooling time depends on the size of the crayon molds. Larger crayons will take longer to cool than smaller ones. If you are in a cool climate, set the crayons outside to harden more quickly; otherwise you can speed up the cooling process with refrigeration. Avoid freezing, though, because extreme temperature change tends to cause the crayons to crack.
Step Seven: Find some paper and create art!